How to Build a Buyer-Ready 3D Collection Showroom
Build a buyer-ready 3D collection: use CLO for garment development, CLO-SET to share, then curate styles, prepare views and plan buyer responses.
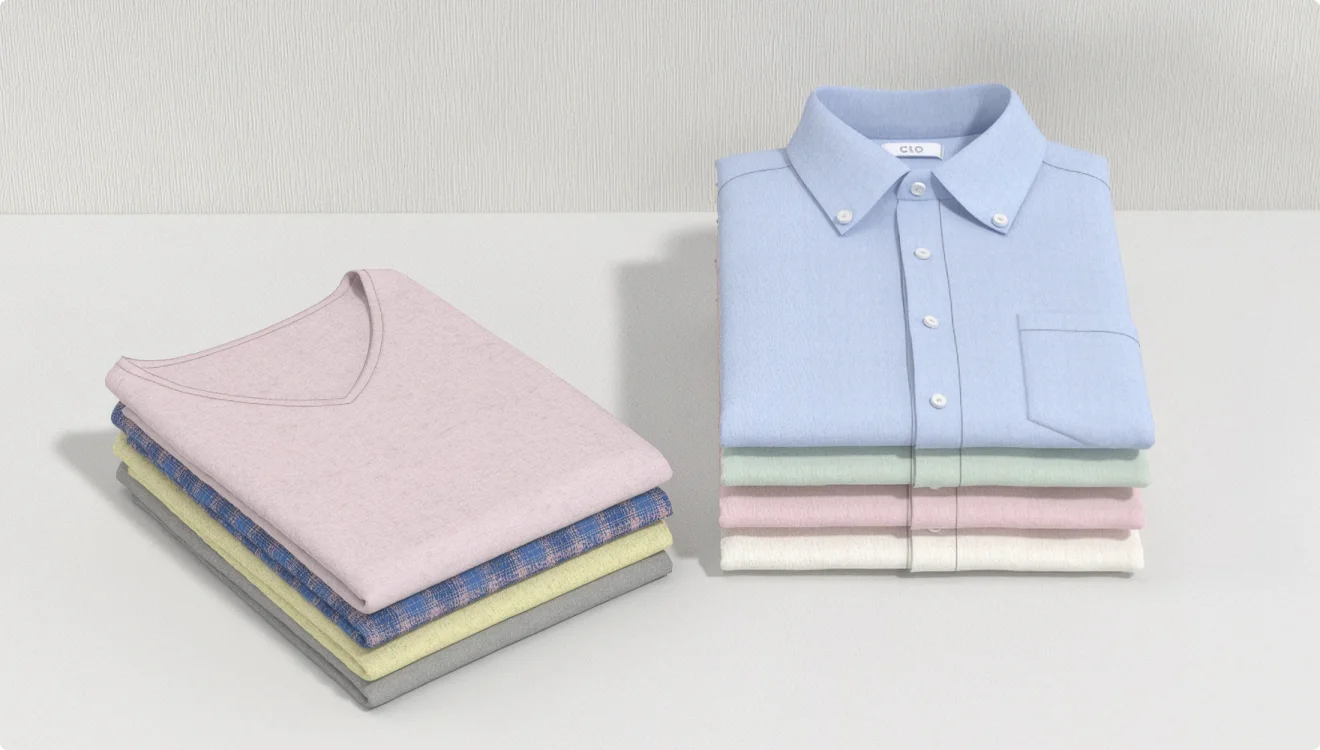
For a buyer-facing 3D collection, use CLO to develop garments and CLO-SET to share and communicate about them.
- Choose the presentation route according to what you want buyers to do next.
- Curate the line around a clear buying story, with recognizable groups and style references.
- Prepare buyer-facing views separately from the working garment files.
- Test the buyer journey and state the response you want before sending the link.
A buyer-ready collection pairs a clear line story with selected garment views and a defined response plan. For each look, keep the buyer-facing name, group, and purpose in the assortment aligned.
Here, “showroom” means the buyer’s merchandising experience: a focused introduction to the line, an orderly look sequence, useful garment views, and a clear way to identify styles and respond. Prepare the collection and its communication plan before sharing the selected garments. CLO’s enterprise overview lists “Digital Showroom” as a heading; the CLO Help Center separately describes CLO-SET as an online cloud platform for sharing and communicating about 3D garments.
1. Choose the route that matches the buyer’s next step
Choose the format according to whether a buyer is reviewing a defined line, a broad audience is discovering 3D models, or a portfolio needs to explain a wider design story. For a buyer discussion about a defined apparel line, make the assortment and the next conversation the organizing principle.
| Route | Use it when | What to organize | Next action for the viewer |
|---|---|---|---|
| Buyer-focused collection presentation | A buyer is reviewing a defined apparel assortment and needs to discuss related styles | Collection premise, buyer-recognizable groups, stable style names or IDs, selected views, and a clear response request | Review the identified styles and use the communication route named by the team |
| Public 3D gallery | The audience is broad and the goal is discovery of individual 3D models | Clear model titles, a useful sequence, and a short description of each work | Browse the models or use the contact route supplied by the team |
| Mixed-media portfolio | The viewer needs design work alongside sketches, images, process notes, or wider project context | Projects grouped by theme, with each visual connected to its explanation | Review the work and contact the team through the portfolio’s stated channel |
Sketchfab is one public 3D gallery option. Its Features page says creators can publish and find 3D models online and embed models on websites that support iframes. This route suits teams presenting models for broad discovery or embedding an interactive model view in a portfolio site.
Use a mixed-media portfolio when a buyer needs a wider account of the design direction. For example, a concise portfolio can place a line concept, selected reference imagery, and a few key 3D looks together. Keep the line review distinct from the wider brand portfolio: buyers should be able to tell which styles belong to the current assortment and which images provide background.
Use the same style-group labels in the presentation, line plan, meeting agenda, and follow-up notes. Consistent terms give buyers a steady reference from the collection premise to a specific look.
2. Give CLO and CLO-SET separate jobs
CLO is the garment-design and development environment for the work behind the collection. Designers create and edit 2D patterns and simulate garments on avatars with fabric physics, then select the styles and views for the buyer presentation.
CLO-SET has a separate role: the CLO Help Center describes it as an online cloud platform for sharing and communicating about 3D garments. In your team plan, treat garment development and buyer-facing collection curation as distinct responsibilities, then coordinate the sharing and follow-up around the selected 3D garments.
Assign one person to confirm the assortment and buyer message, one person to prepare or approve the garment views, and one person to manage the link and collect responses. One person can cover several roles on a small team. The key is to name who makes the final decision on style inclusion and who replies to buyer questions.
Keep a master record for every look. Include the style name, style ID, collection group, presentation status, and an internal owner. Use the same style name and ID in the shared garment, meeting agenda, buyer notes, and follow-up message. Consistent references make it easier for the buyer to point to one garment and for the team to find the related design record.
Treat the master garment file as working material. The CLO file-format documentation describes .zpac as a garment file containing simulated 3D garments, 2D patterns, seamlines, fabrics, and other materials. Keep the development file in the team’s working record, then decide separately which views and supporting details suit the buyer discussion.
3. Curate the line around a buyer’s decision
A buyer should be able to understand the collection’s shape before examining every look. Start with a one-sentence collection premise that names the season or delivery, the product category, and the design idea. For example: “A transitional outerwear group built around light layering, adjustable volume, and three fabric stories.” Use a sentence the merchandising team can support in conversation, and keep it consistent across the invite, opening slide, and meeting notes.
Next, divide the assortment into a small number of meaningful groups. Choose group names that match the way the team expects the buyer to discuss the line, such as category, delivery, fabric story, or use. A group called “Packable shells” gives a more useful preview than a decorative label such as “Blue Horizon” unless the concept name is already central to the buyer’s product language. Category names help the viewer anticipate what follows.
Choose the first look as an entry point, not merely as the team’s most elaborate render. A useful opener communicates the line’s visual direction and gives the viewer a reason to continue. It might be a representative hero style, a coordinated outfit, or a clear example of the construction or material story. Place a supporting look soon after it so the buyer can see how the idea extends across the assortment.
Sequence the remaining styles to help the buyer compare them. One workable pattern is to move from the strongest expression of a group to its variations, then to a related group. If two styles differ in length, closure, pocket treatment, or colorway, present them close enough together that the relationship is apparent. If they serve different categories or delivery moments, keep those distinctions visible in the group names.
Build the collection at two levels. The first level answers, “What is this line?” The second answers, “Which styles should I review?” The opening should supply the broad premise. Each group should then introduce its styles with short labels and stable identifiers. Avoid placing every explanation into a single long introduction, because the buyer needs the relevant detail beside the garment it describes.
Use a style list as the internal source of truth while building the presentation. It can be a simple team document with one row per look and columns for style ID, buyer-facing name, group, sequence position, included views, and response status. It gives the team a way to compare the planned collection with the actual shared material and catch duplicate, missing, or misnamed styles.
For example, an outerwear line could open with a signature jacket, follow with two length variations, then show a packable shell group, and close with coordinated accessories if those are in scope. The buyer can see the main proposition first, compare related products together, and finish with the details that complete the offer. A buyer reviewing a narrow capsule could use fewer groups and a shorter sequence; the organizing principle remains the same.
Make each group earn its place. When a concept name is less familiar than the product group, pair it with a direct category label, such as “Blue Horizon | Packable shells.” If a group name does not help the buyer locate, compare, or discuss styles, simplify it. Keep concept language in the opening message and use direct product language for navigation and item identification.
4. Prepare the buyer-facing collection presentation
Prepare the buyer journey before opening the sharing step. Write down the collection’s purpose, the viewer’s likely questions, and the outcome you want from the review. A line preview may ask the buyer to identify styles for a deeper review. A selection meeting may ask the buyer to name styles for a follow-up discussion. A sourcing conversation may ask for comments about a particular garment or material direction. State one primary request so the buyer can finish the presentation knowing how to respond.
Then assemble the presentation in this order:
- Open with the collection context. State the line or delivery name, the product focus, and the central design idea. Include the meeting date or review context when it helps the recipient identify the presentation later.
- Show the buyer how the assortment is grouped. Use the same categories the merchandising team uses in its buying discussion. Keep the order consistent with the line plan and the planned conversation.
- Present the looks in a deliberate sequence. Lead with the look that best introduces the collection, then place its most useful comparisons nearby. Keep style names and IDs aligned with the source list.
- Add concise explanations at the point of use. State what the buyer needs to understand about a look, such as its group, distinguishing feature, or relationship to another style. Keep development notes for internal review separate from the buyer-facing explanation.
- Close with a response request. Ask the buyer to identify styles of interest, describe the information needed next, or send questions through the communication route the team has agreed to monitor.
Keep the invitation focused on the collection name and the reason the buyer is reviewing it. State which styles or groups to review, what response you want, and who will follow up.
Separate the buyer invitation from the collection explanation. The invitation should make clear why the buyer is receiving the presentation, what collection it covers, and what you want them to do. The collection context can carry the design story and explain how the assortment is organized. This keeps the invitation easy to scan while preserving enough context inside the presentation for a recipient who forwards it to a colleague.
A concise invitation might read: “We are sharing the Fall outerwear line for your review. Please review the packable-shell and insulated-jacket groups, then reply with the style IDs you would like to discuss and any questions for the product team. We will follow up on the selected styles after your review.” Adapt the example to the actual buyer, line, and team response process. The useful elements are the collection name, the review task, the style reference, and a named next step.
If the presentation supports a live meeting, appoint a guide and a note-taker. The guide introduces the collection and moves through the planned sequence. The note-taker records buyer comments against style IDs, capturing the comment and the requested follow-up. If the buyer reviews independently, send the same collection premise and response request with the shared garments so the presentation retains its context.
5. Prepare garment assets for buyer review
Start with a confirmed style list, then prepare only the material needed to present each included look. At minimum, the team should know which garment belongs to each style ID, which view introduces it, and which additional views answer the expected buyer questions. A review becomes easier to discuss when the same identifier appears on the garment record and in the supporting notes.
For each included style, prepare a small, consistent set of views. Choose views that help the buyer recognize the silhouette and the design details relevant to the purchase discussion. A front view can establish the overall shape, while a back or detail view can clarify a feature the buyer needs to assess. Add views according to the garment and the conversation, rather than applying a fixed view count to every style.
Keep visual conditions steady across comparable garments. A consistent avatar, pose, framing, lighting approach, and background make differences between styles easier to read. When a collection includes distinct fits or garment categories that need different presentation choices, preserve enough consistency within each comparison group for buyers to focus on the design differences.
Use purposeful file and view names. A consistent filename can combine the style ID, view, and revision marker, for example “JKT-214_front_review.” Keep the buyer-facing label readable, and retain the style ID where it helps the buyer refer to a specific garment in a reply.
Separate buyer-facing content from internal notes. Buyer-facing descriptions should identify the garment, its group, and the decision or question it supports. Internal notes can track the simulation state, pattern edits, review status, and the responsible team member. This separation helps the team present a clean assortment while preserving the development record where it belongs.
Create an inclusion check for each style before sharing. Use one inclusion record per style for its approved revision, buyer-facing name, selected views, and short explanation. If a style is still under internal review, mark its status in the team record and decide whether it belongs in the buyer review. The lead merchandising owner should make that decision so the shared assortment has one consistent scope.
6. Plan how buyers can respond to the collection
Give buyers a clear way to refer to a garment. Use a stable style ID and the same buyer-facing name throughout the presentation, invitation, and follow-up. For example, a buyer can refer to “the short navy jacket” while the style ID shown with it identifies the exact look.
Ask for a response that matches the meeting’s purpose. If the buyer is screening a line, request the styles they want to advance. If the buyer is reviewing a few candidates, ask for comments by style ID and identify the specific question the team needs answered. If the review is exploratory, invite questions about the collection premise or garment details and offer a next conversation as the follow-up.
Keep selection and inquiry separate in your request. A selection identifies the styles the buyer wants to discuss or advance. An inquiry asks for information about a garment or the collection. A single buyer may do both, so ask the recipient to label the style and state the question. The team can then record a selection as a decision item and an inquiry as a follow-up task.
A useful response log contains the buyer, date, style ID, response type, comment, owner, and next action. Record the buyer’s own language where precision matters, then restate the task in operational terms. For example, a note can read, “Short navy jacket: buyer requests clarification on the pocket option; product team to respond before the next review.” Keep the log with the team’s normal product-development records and use it to assign follow-up.
For a live review, pause after each group so buyers can name styles for follow-up. For an asynchronous review, put the response request in the invitation and at the end of the presentation, so buyers can see the next action when they review later.
After receiving the response, send a short acknowledgement that names the styles received and the next action. If the buyer selected three styles, list those style IDs in the acknowledgement. If the buyer raised questions, confirm who will answer them and the agreed follow-up point. This closes the communication loop and gives the team a shared account of what the buyer asked for.
7. Rehearse the presentation before sharing it
Run a complete rehearsal using the collection and the audience intended for the actual review. A merchandising lead can work through this checklist with the design and sales teams:
- Collection identity: The line name, delivery, and buyer-facing premise match the review brief.
- Assortment scope: Every included style belongs to the collection being presented, and each style the team plans to discuss appears in the sequence.
- Style references: Names and IDs match the current line list across the presentation and follow-up notes.
- Grouping and order: Each group has a clear label, and the sequence supports the buying conversation.
- Garment views: Each look has the views needed for its discussion, with consistent presentation inside comparison groups.
- Asset status: The selected views and shared garment material match the team’s approved review state.
- Buyer context: The invitation explains the collection, the purpose of the review, and the expected response.
- Communication owner: A named team member will receive and route buyer questions and selections.
- Access rehearsal: Open the shared presentation through the same path the intended buyer will use and confirm the recipient reaches the collection material expected for the review.
- Response rehearsal: Ask a colleague to follow the invitation and identify a style, then check that the reply gives the team enough information to act.
Treat the rehearsal as a buyer task, not an internal presentation review. A colleague who has not prepared the collection can try to answer three questions: What line am I looking at? Which styles belong to each group? What should I do after reviewing them? If the colleague needs verbal explanation to identify the collection or the response request, improve the opening context, labels, or closing instruction before sending.
Confirm that the team can answer the questions the presentation invites. If you ask buyers to select styles for follow-up, have a person and a process ready to capture selections. If you invite garment questions, identify the product-development contact who can respond. The shared collection and the internal response plan should be ready together, so a buyer’s next step has an owner.
FAQS
FAQ
Should I create the garments in CLO or CLO-SET?
Create and edit the garment in CLO, then use CLO-SET for sharing and communicating about 3D garments. CLO is the design and garment-development application, while CLO-SET is a separate cloud platform.
Is a public 3D gallery the same route as a buyer collection presentation?
No. A public gallery is suited to model discovery, while a buyer collection presentation organizes an assortment around a specific buying conversation. Choose the route based on the audience and the action you want from the viewer.
What should I include with each 3D garment?
Include a stable style name or ID, the views needed for the buyer’s decision, and a concise explanation of the garment’s role in the collection. Match the shared material to the approved review state and keep working patternmaking records under your team’s file-sharing practice.
How should buyers send a selection or question?
Ask buyers to refer to the style ID and state whether they are selecting the garment for follow-up or asking a question. CLO-SET is documented as a sharing and communication platform for 3D garments, so assign a team member to monitor the agreed communication route and record the next action.
What is the last check before sending the buyer invitation?
Run the presentation through the recipient’s path, then confirm that the collection opens, the style names are consistent, and the invitation tells the buyer what to review and how to respond. Assign an owner for the buyer’s follow-up before sending.
Explore CLO for garment design and development at clo3d.com.
Learn More
See how these criteria hold up on the real thing.
Related reading